How to Create an Email Account Using Mail.com & Transfer Email and Contacts
1. Go to mail.com
2. Click on “Sign up” at the top right corner of the screen.

3. Complete all of the required fields.
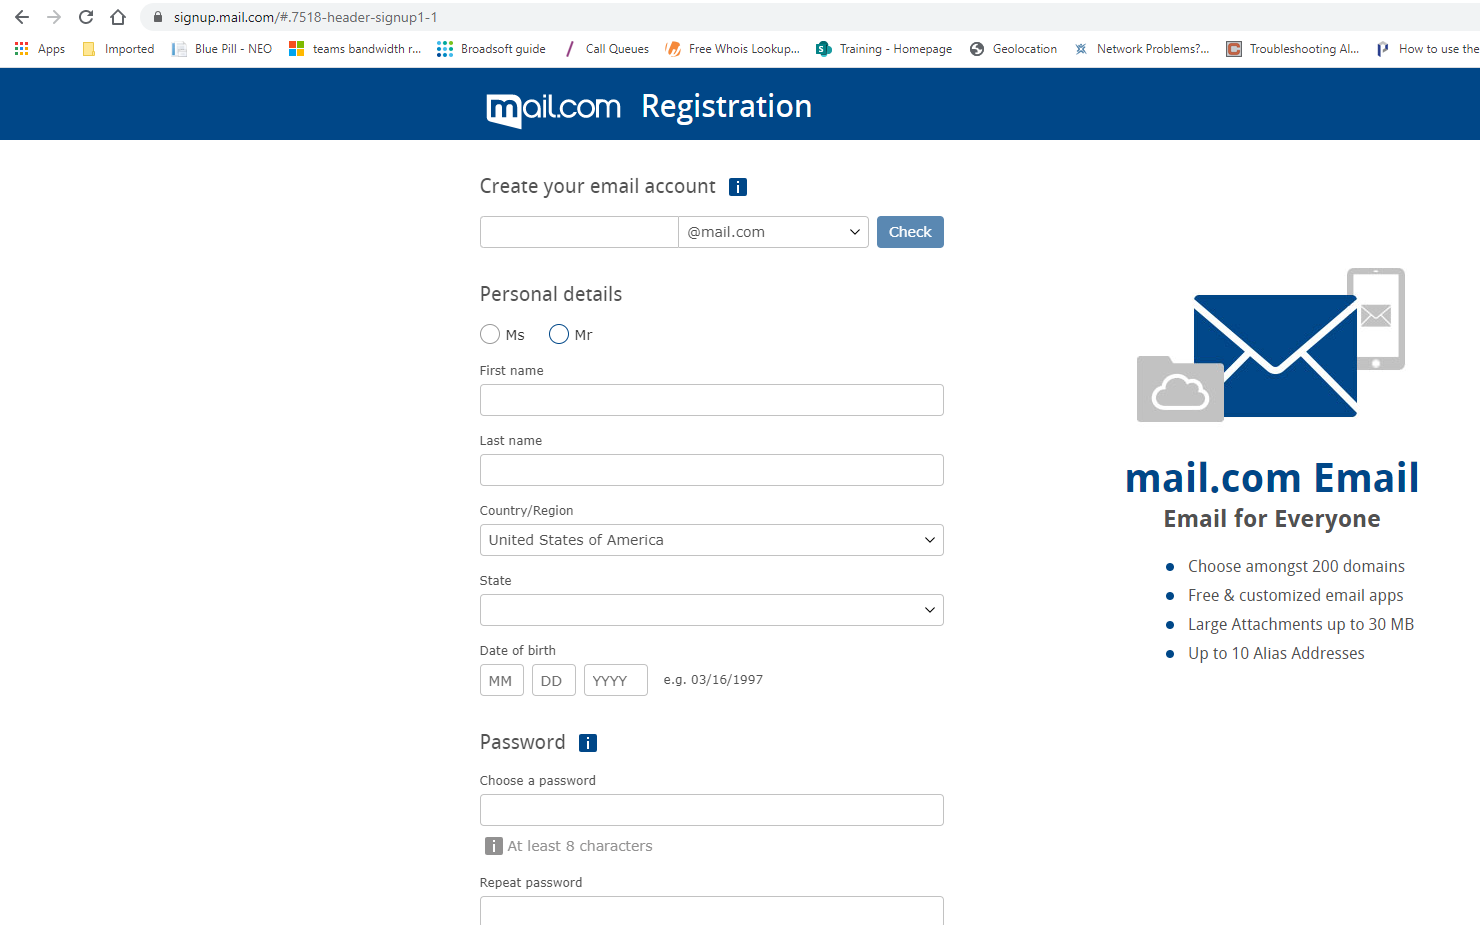
4. Password requirements:
- At least eight characters
- Numbers and letters
- Upper- and lower-case letters
- Special characters
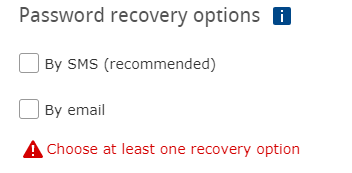
5. You MUST choose a Password recovery option to proceed with registration.
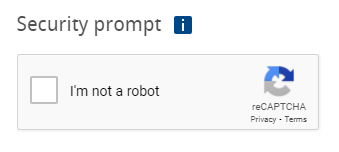
6. You MUST respond to the Security prompt by clicking in the box that says “I’m not a robot”
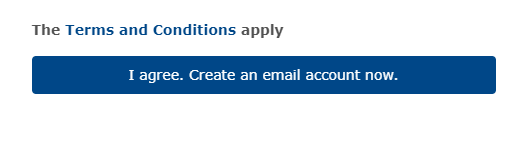
7. Next, read the “Terms and Conditions” and then click on the button on the bottom that says “I agree. Create an email account now.”
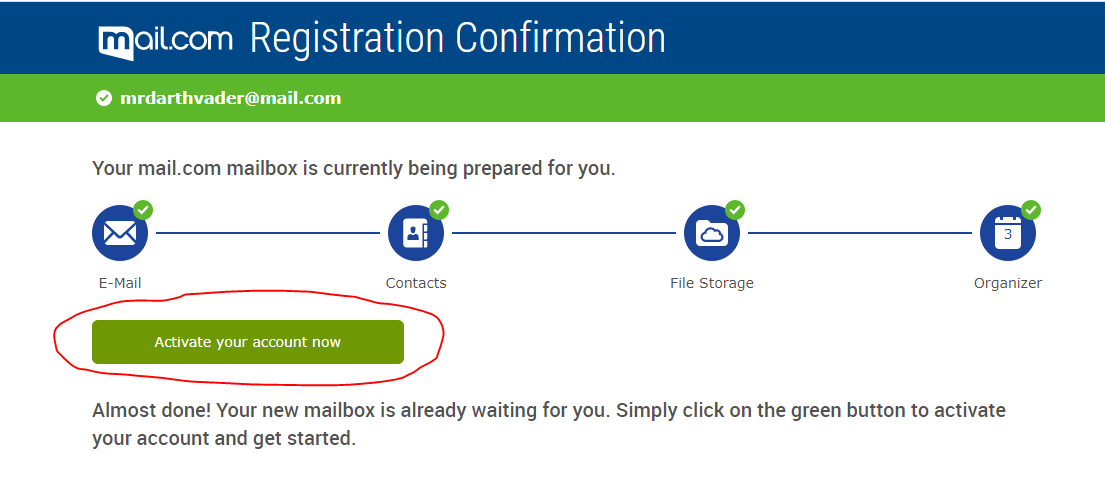
8. Click on the green button labeled “Activate your account now”
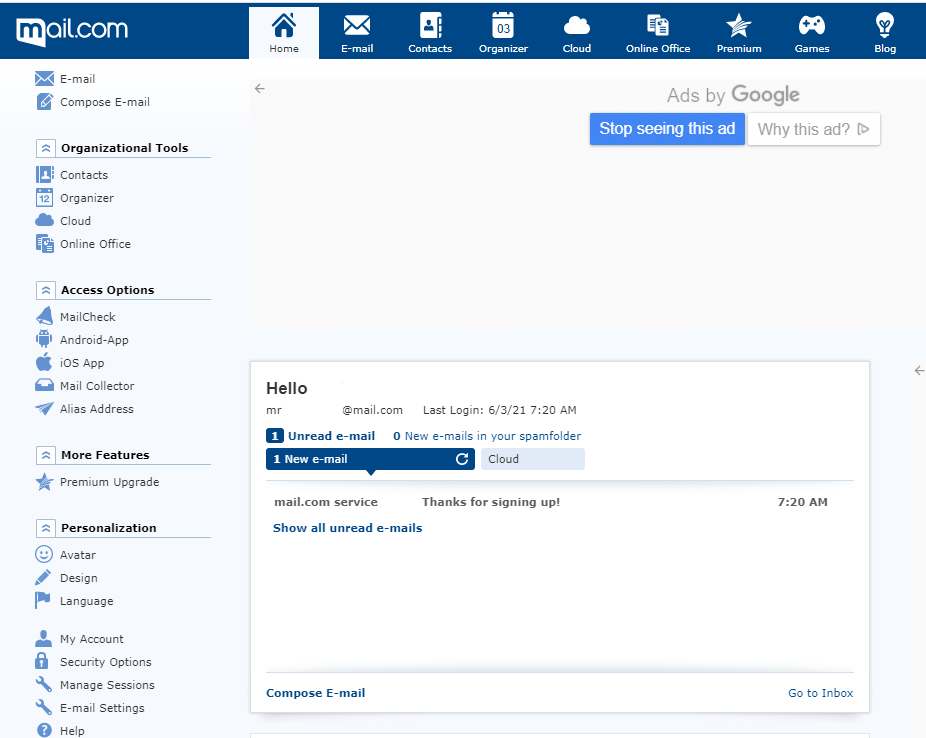
9. Dashboard View
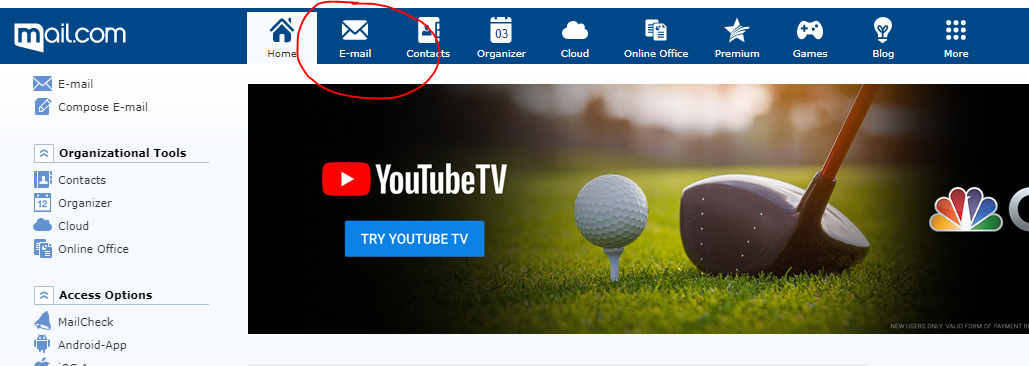
10. How to Transfer email to mail.com From dashboard view click on the “E-mail” icon at the top of the page.
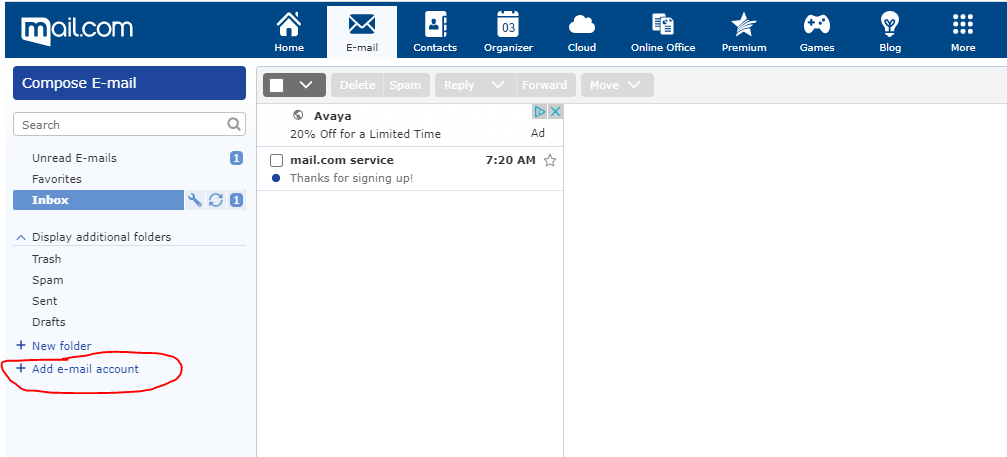
11. Next, click on the “+ Add e-mail account” hyperlink near the bottom left of the page.
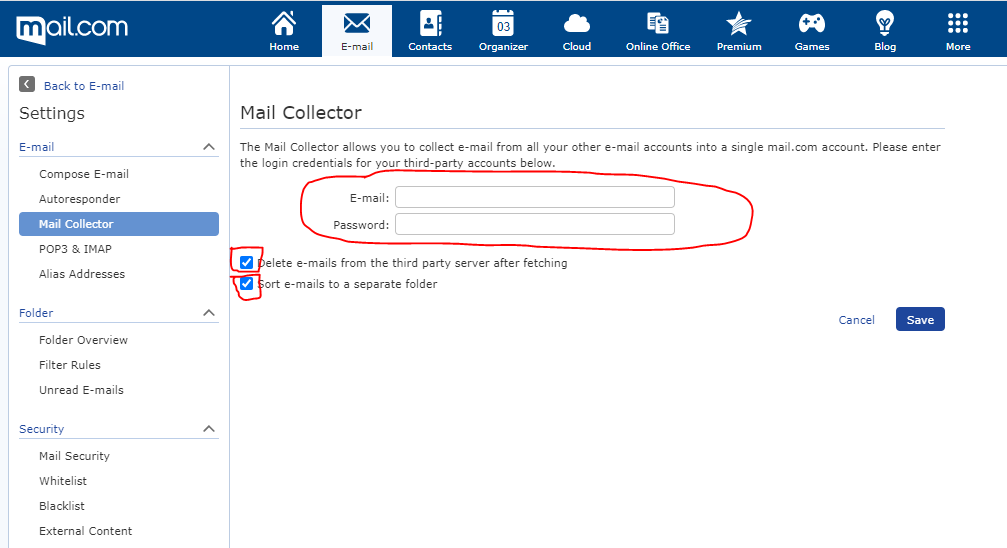
12. You will enter the e-mail account and password from that e-mail account in the prescribed fields; you can choose to “Delete e-mails from the third party server after fetching” or not. You may also choose to “Sort e-mails to a separate folder” or not.
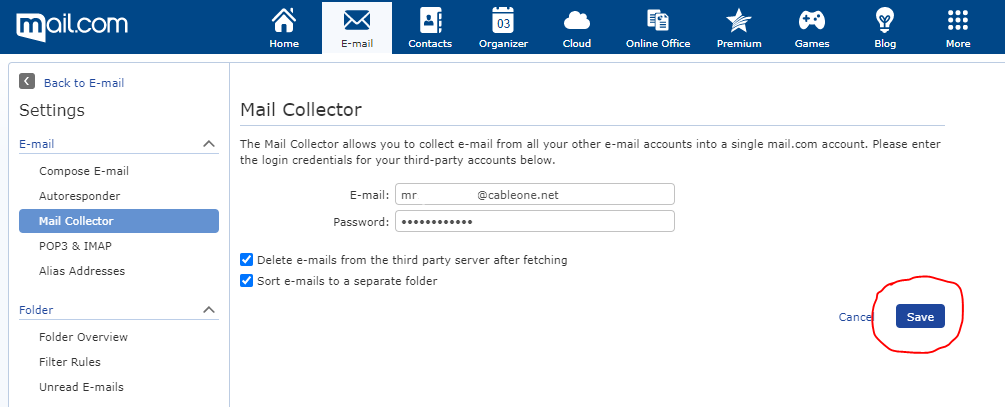
13. Click “Save”
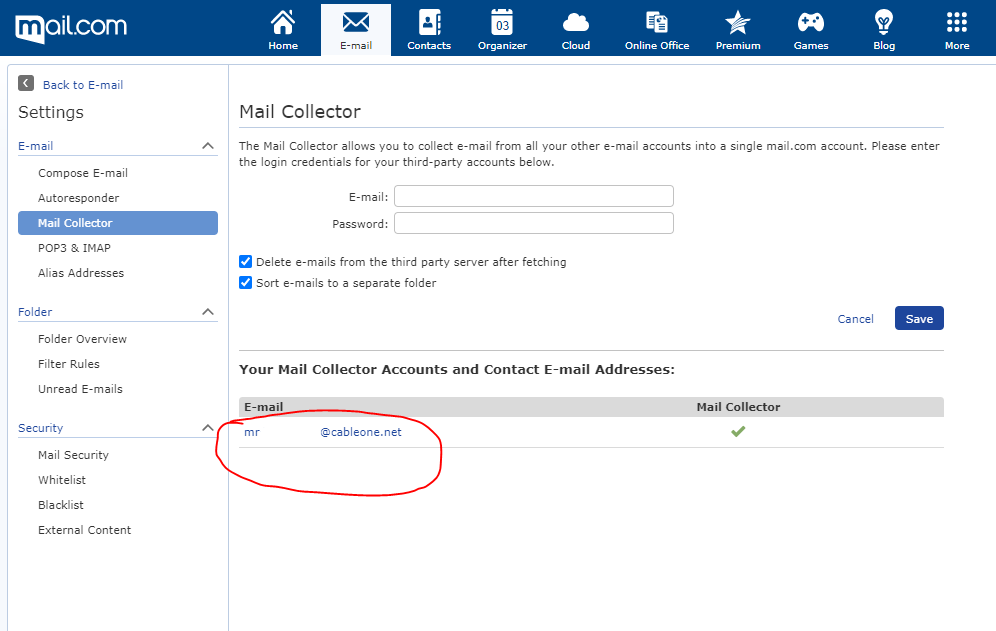
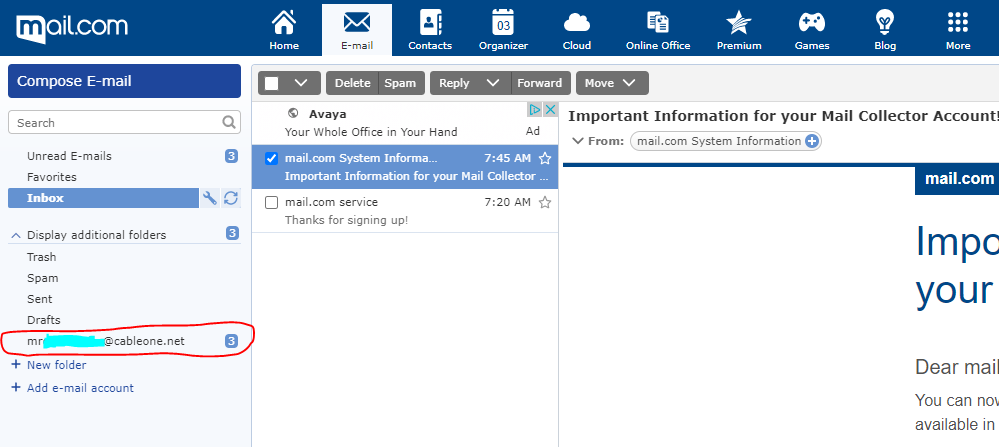
14. You will now see your email account
15. Your email account will appear on the left side of the page under the “Display additional folders” dropdown.
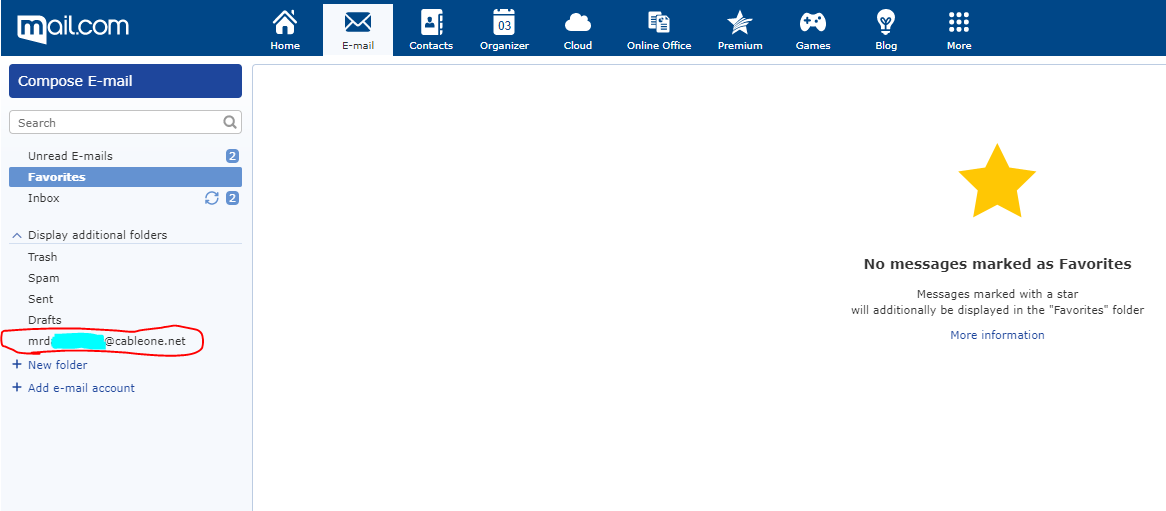
16. Within a few short minutes, all of the cableone.net e-mail should be transferred into the mail.com account. (This MAY or MAY NOT occur while you are on a call with the customer).
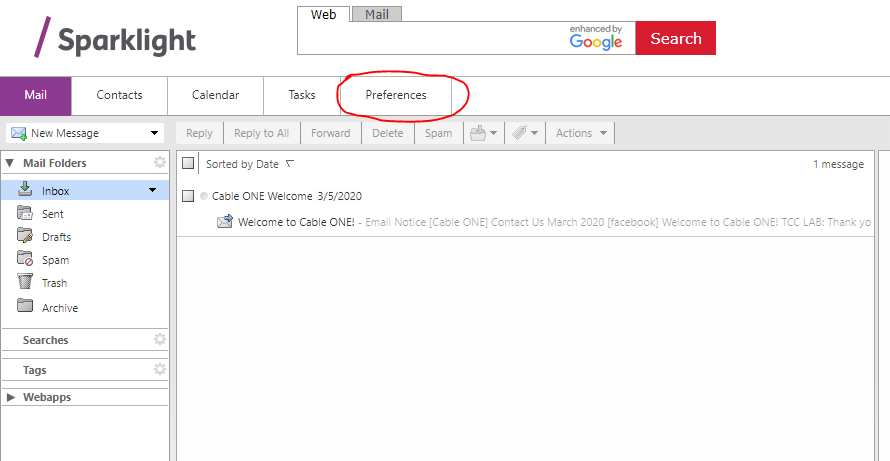
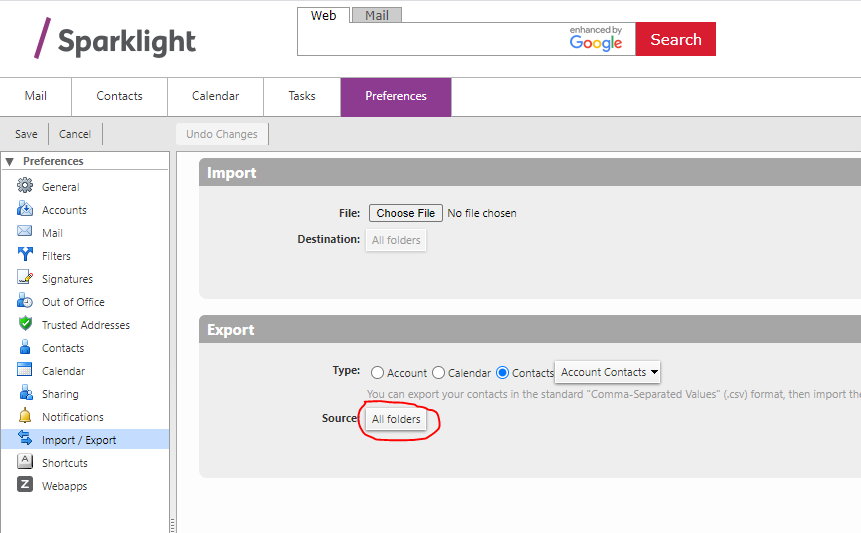
17. To Import Contacts first login to cableon.net webmail and click on “Preferences”
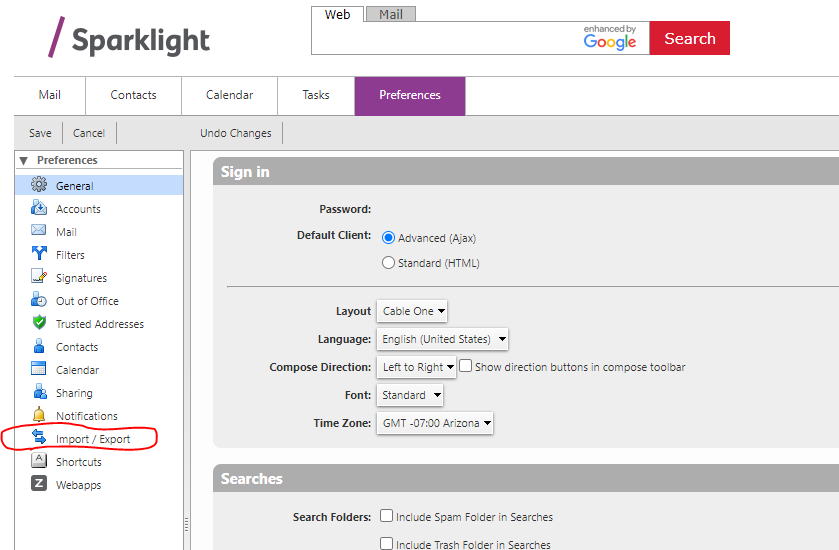
18. Click on “Import/Export”
19. Under Export, choose “Contacts” and “Account Contacts” from the drop-down.
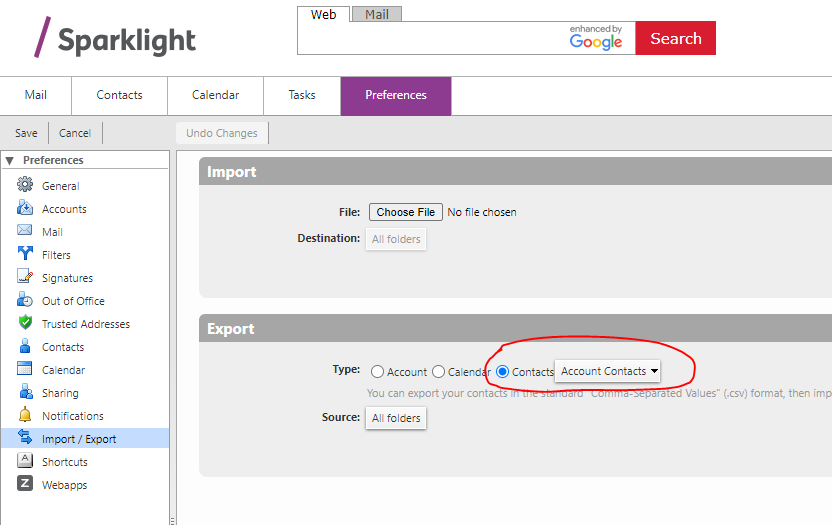
20. Then click on the “all folders” option next to “Source:”
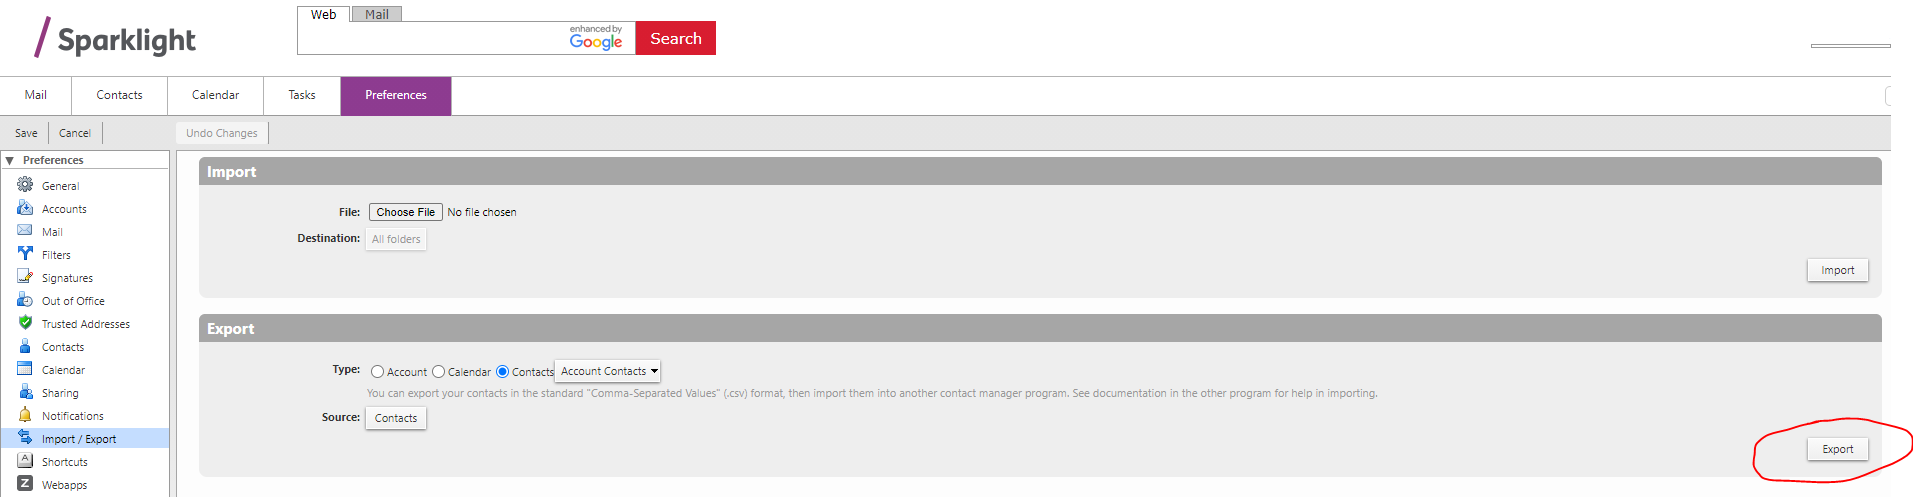
21. Choose whatever Contacts list you want and click the “OK” button. You should repeat this process separately for both Contacts and Emailed Contacts to ensure that you have all of the contacts.

22. Click the “Export” button.
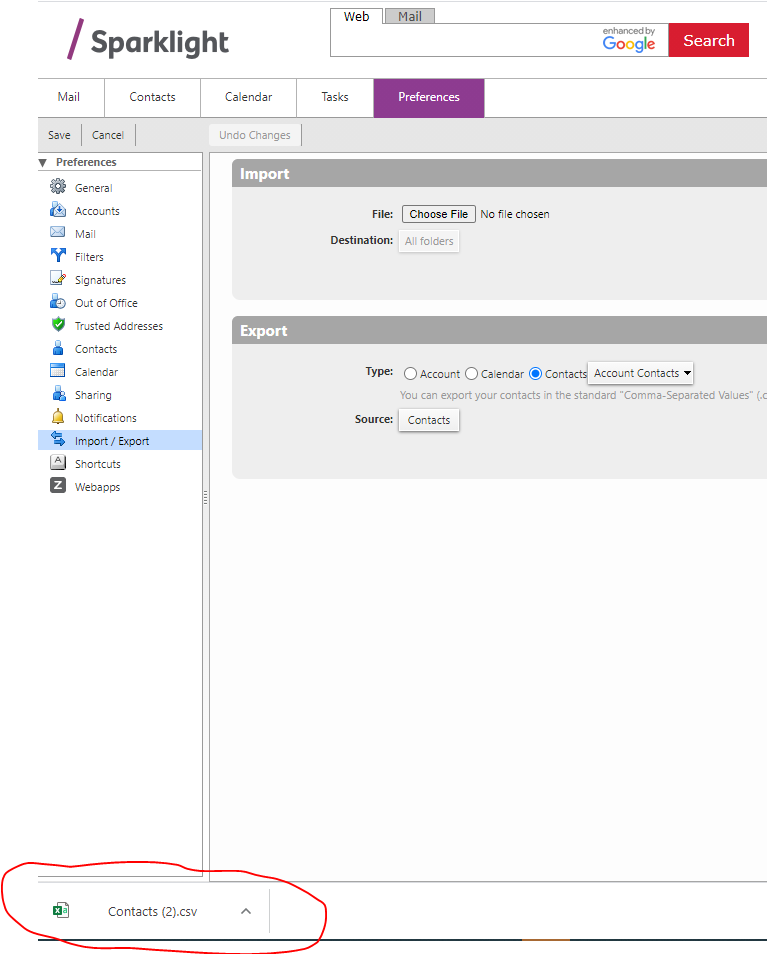
23. This will export as an Excel .csv file (on the bottom left corner of your screen).
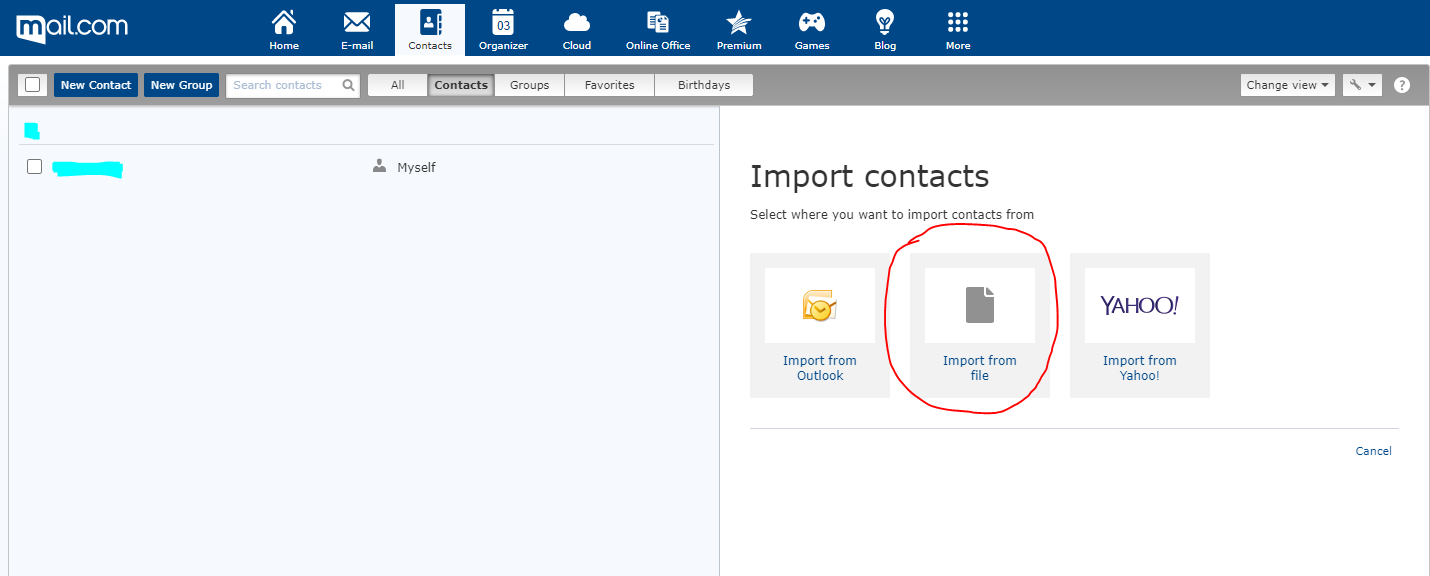
24. From your mail.com dashboard, click on the “Contacts” icon at the top of the page.

25. Click on “Import Contacts”

26. Click on “Import from file”
27. Click on “Choose File”
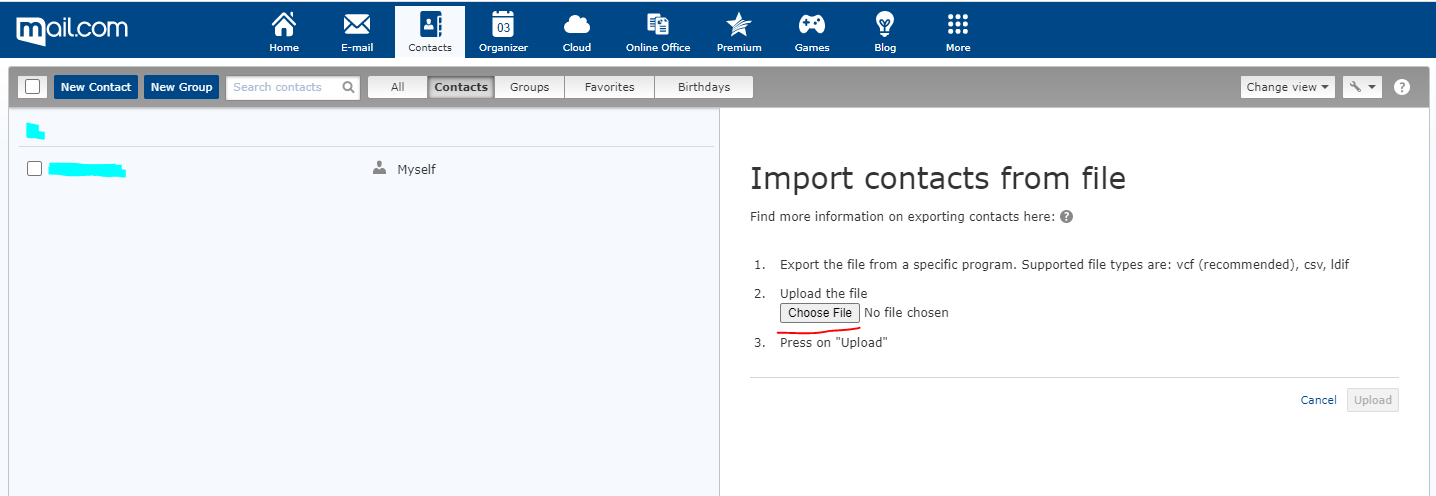
28. A Pop-up will appear. Choose your Excel file labeled “Contacts”

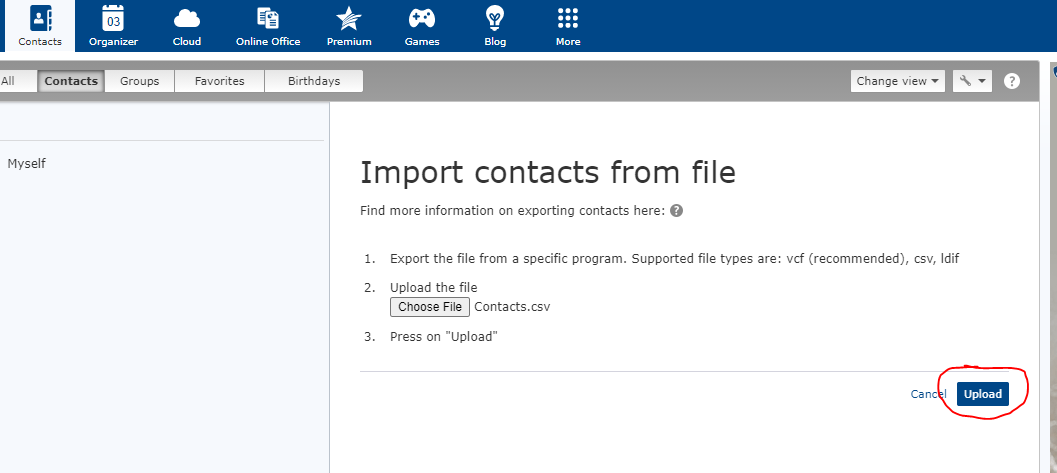
29. Click on the “Open” button

30. Click on “Upload”
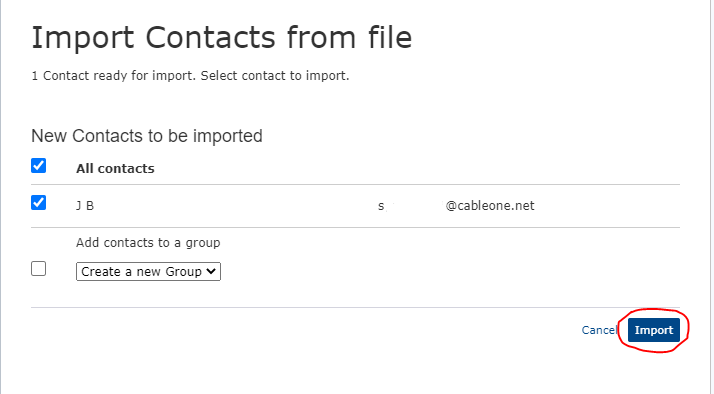
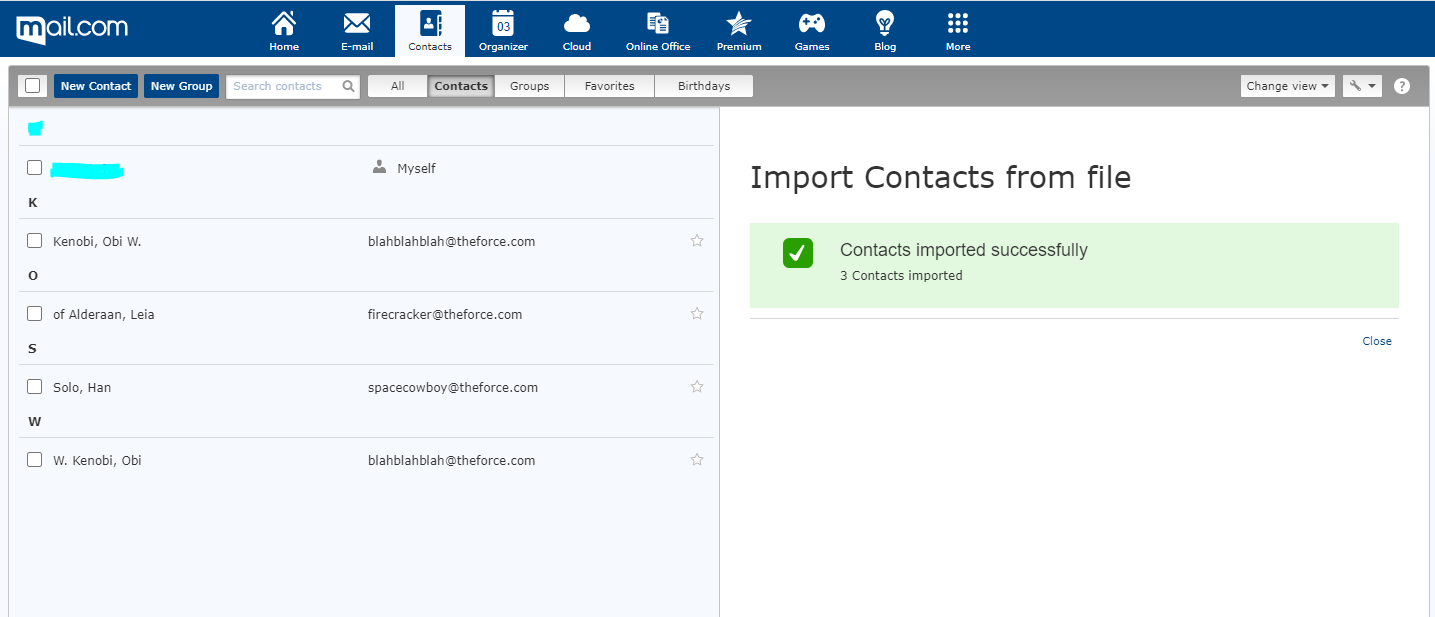
31. Click on “Import”
This will complete immediately because you are downloading and uploading the content at the same time.
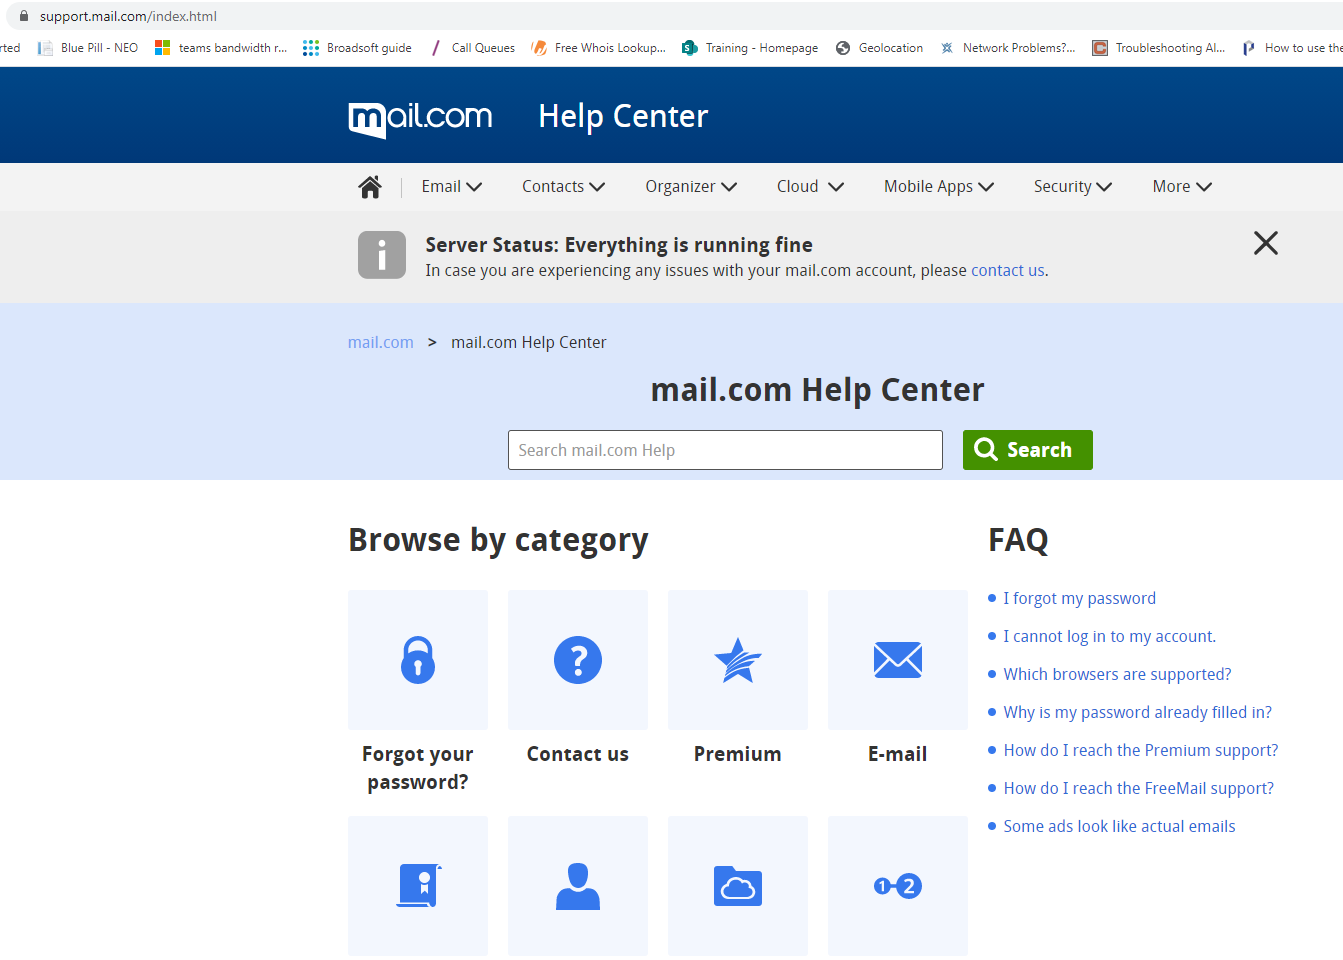
32. For mail.com tech support go to support.mail.com
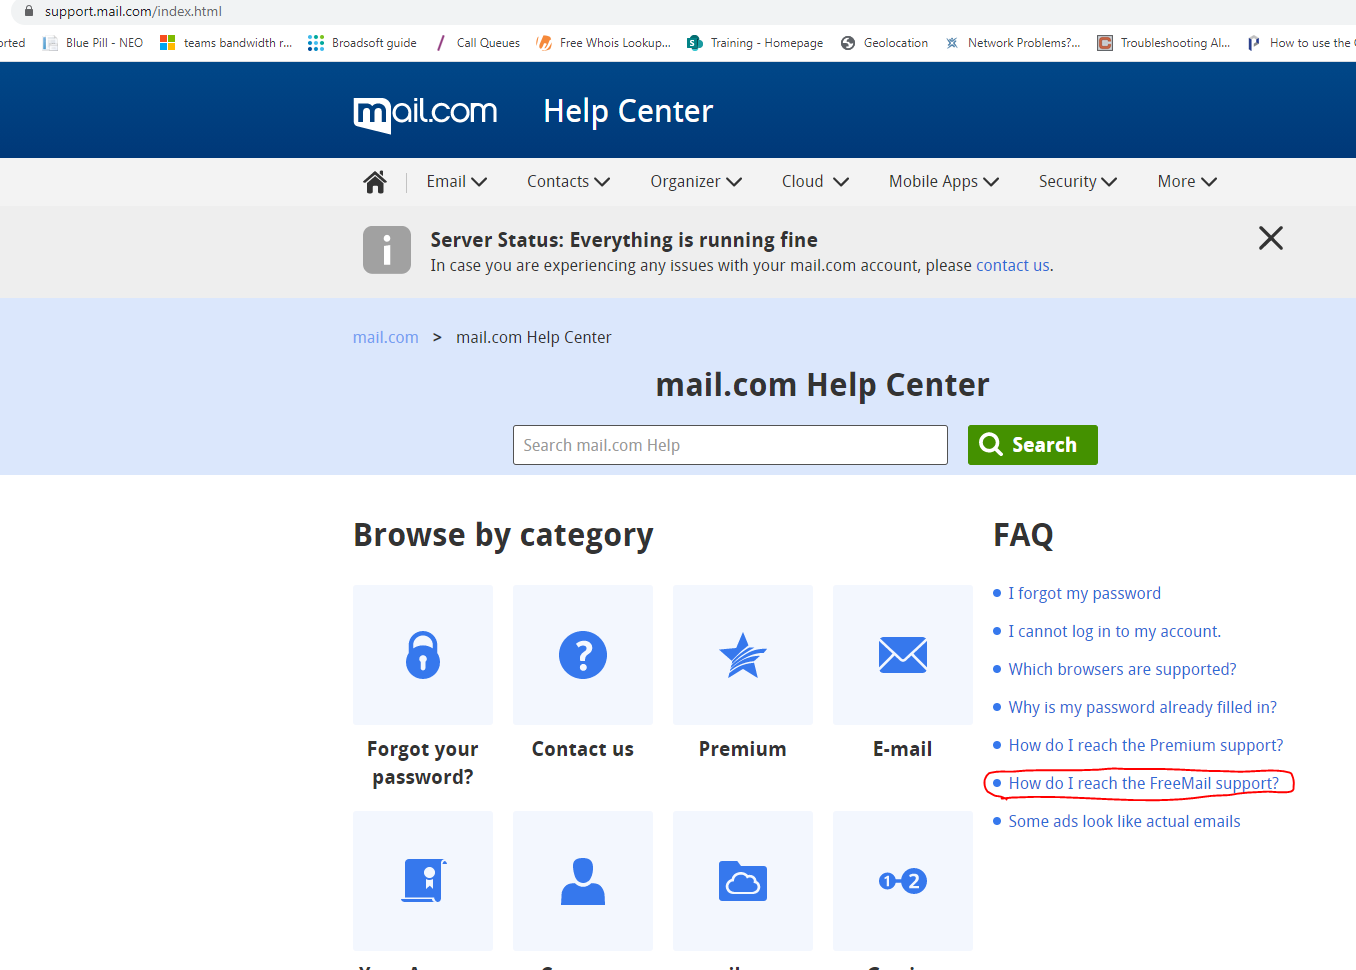
33. Click on “How do I reach the FreeMail support?” hyperlink
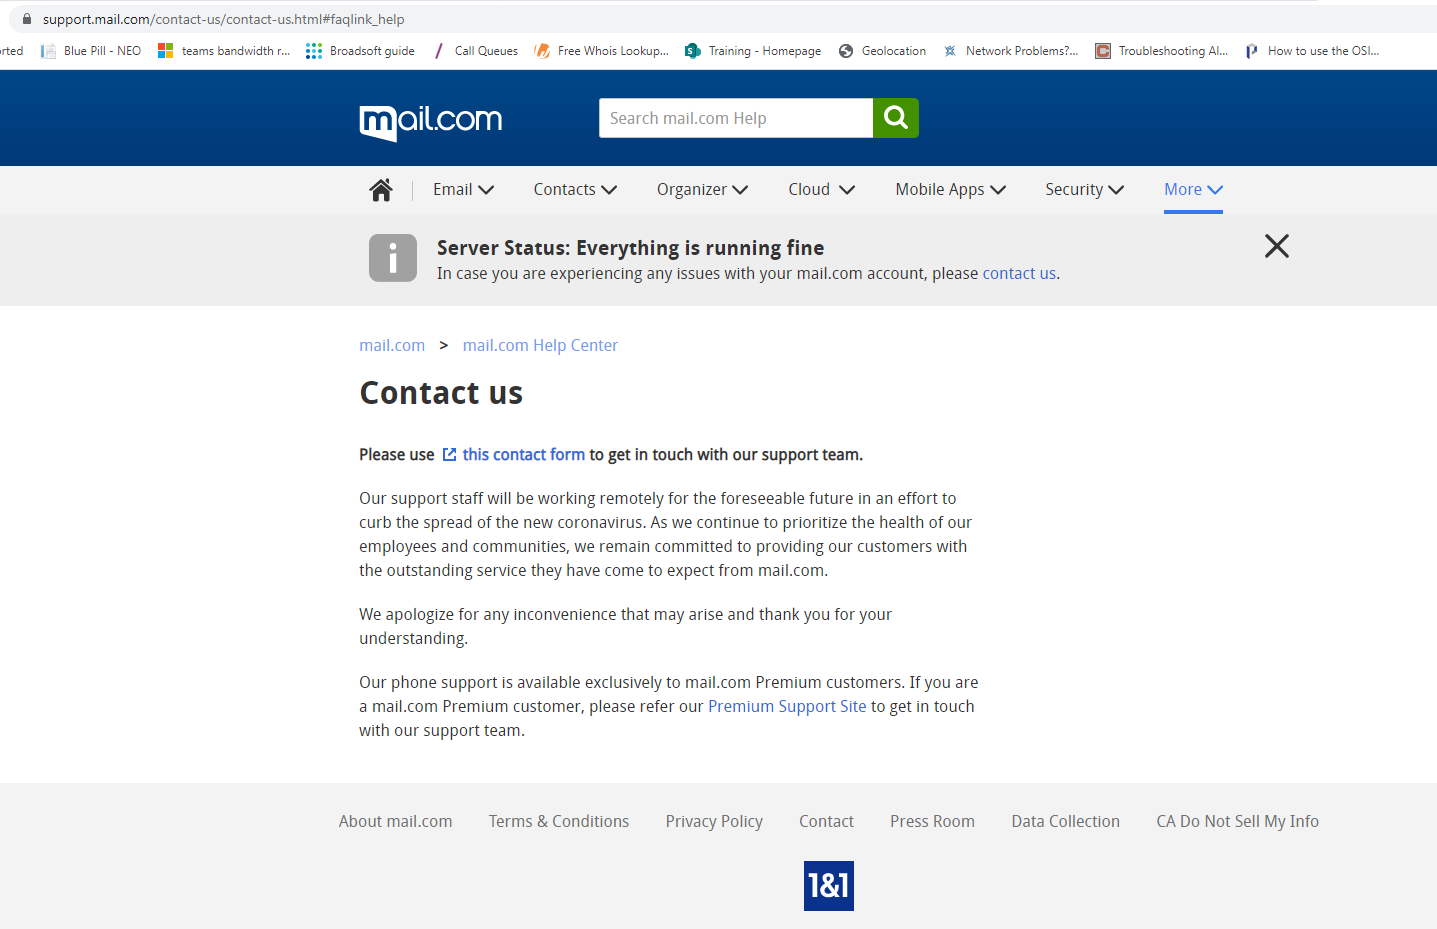
This will bring you to this page:


Was This Article Helpful?
Thank you for your feedback!
Thank you for your vote!
Have more questions?
Submit a request or Contact Us
Technical Support: (877) 570-0500